
How Is Car Window Tint Applied?
Car window tint is applied to the inside of a vehicle’s glass using a carefully measured and cut window film. Professional installation involves thoroughly cleaning the glass, cutting and shaping the film to fit each window, applying it with a slip solution, removing trapped moisture and air, and inspecting the finished installation for clean edges and proper fit.
At Clear Cut Glass & Tint, we use computer-cut patterns whenever available to precisely cut window film for each vehicle without cutting directly on the glass.
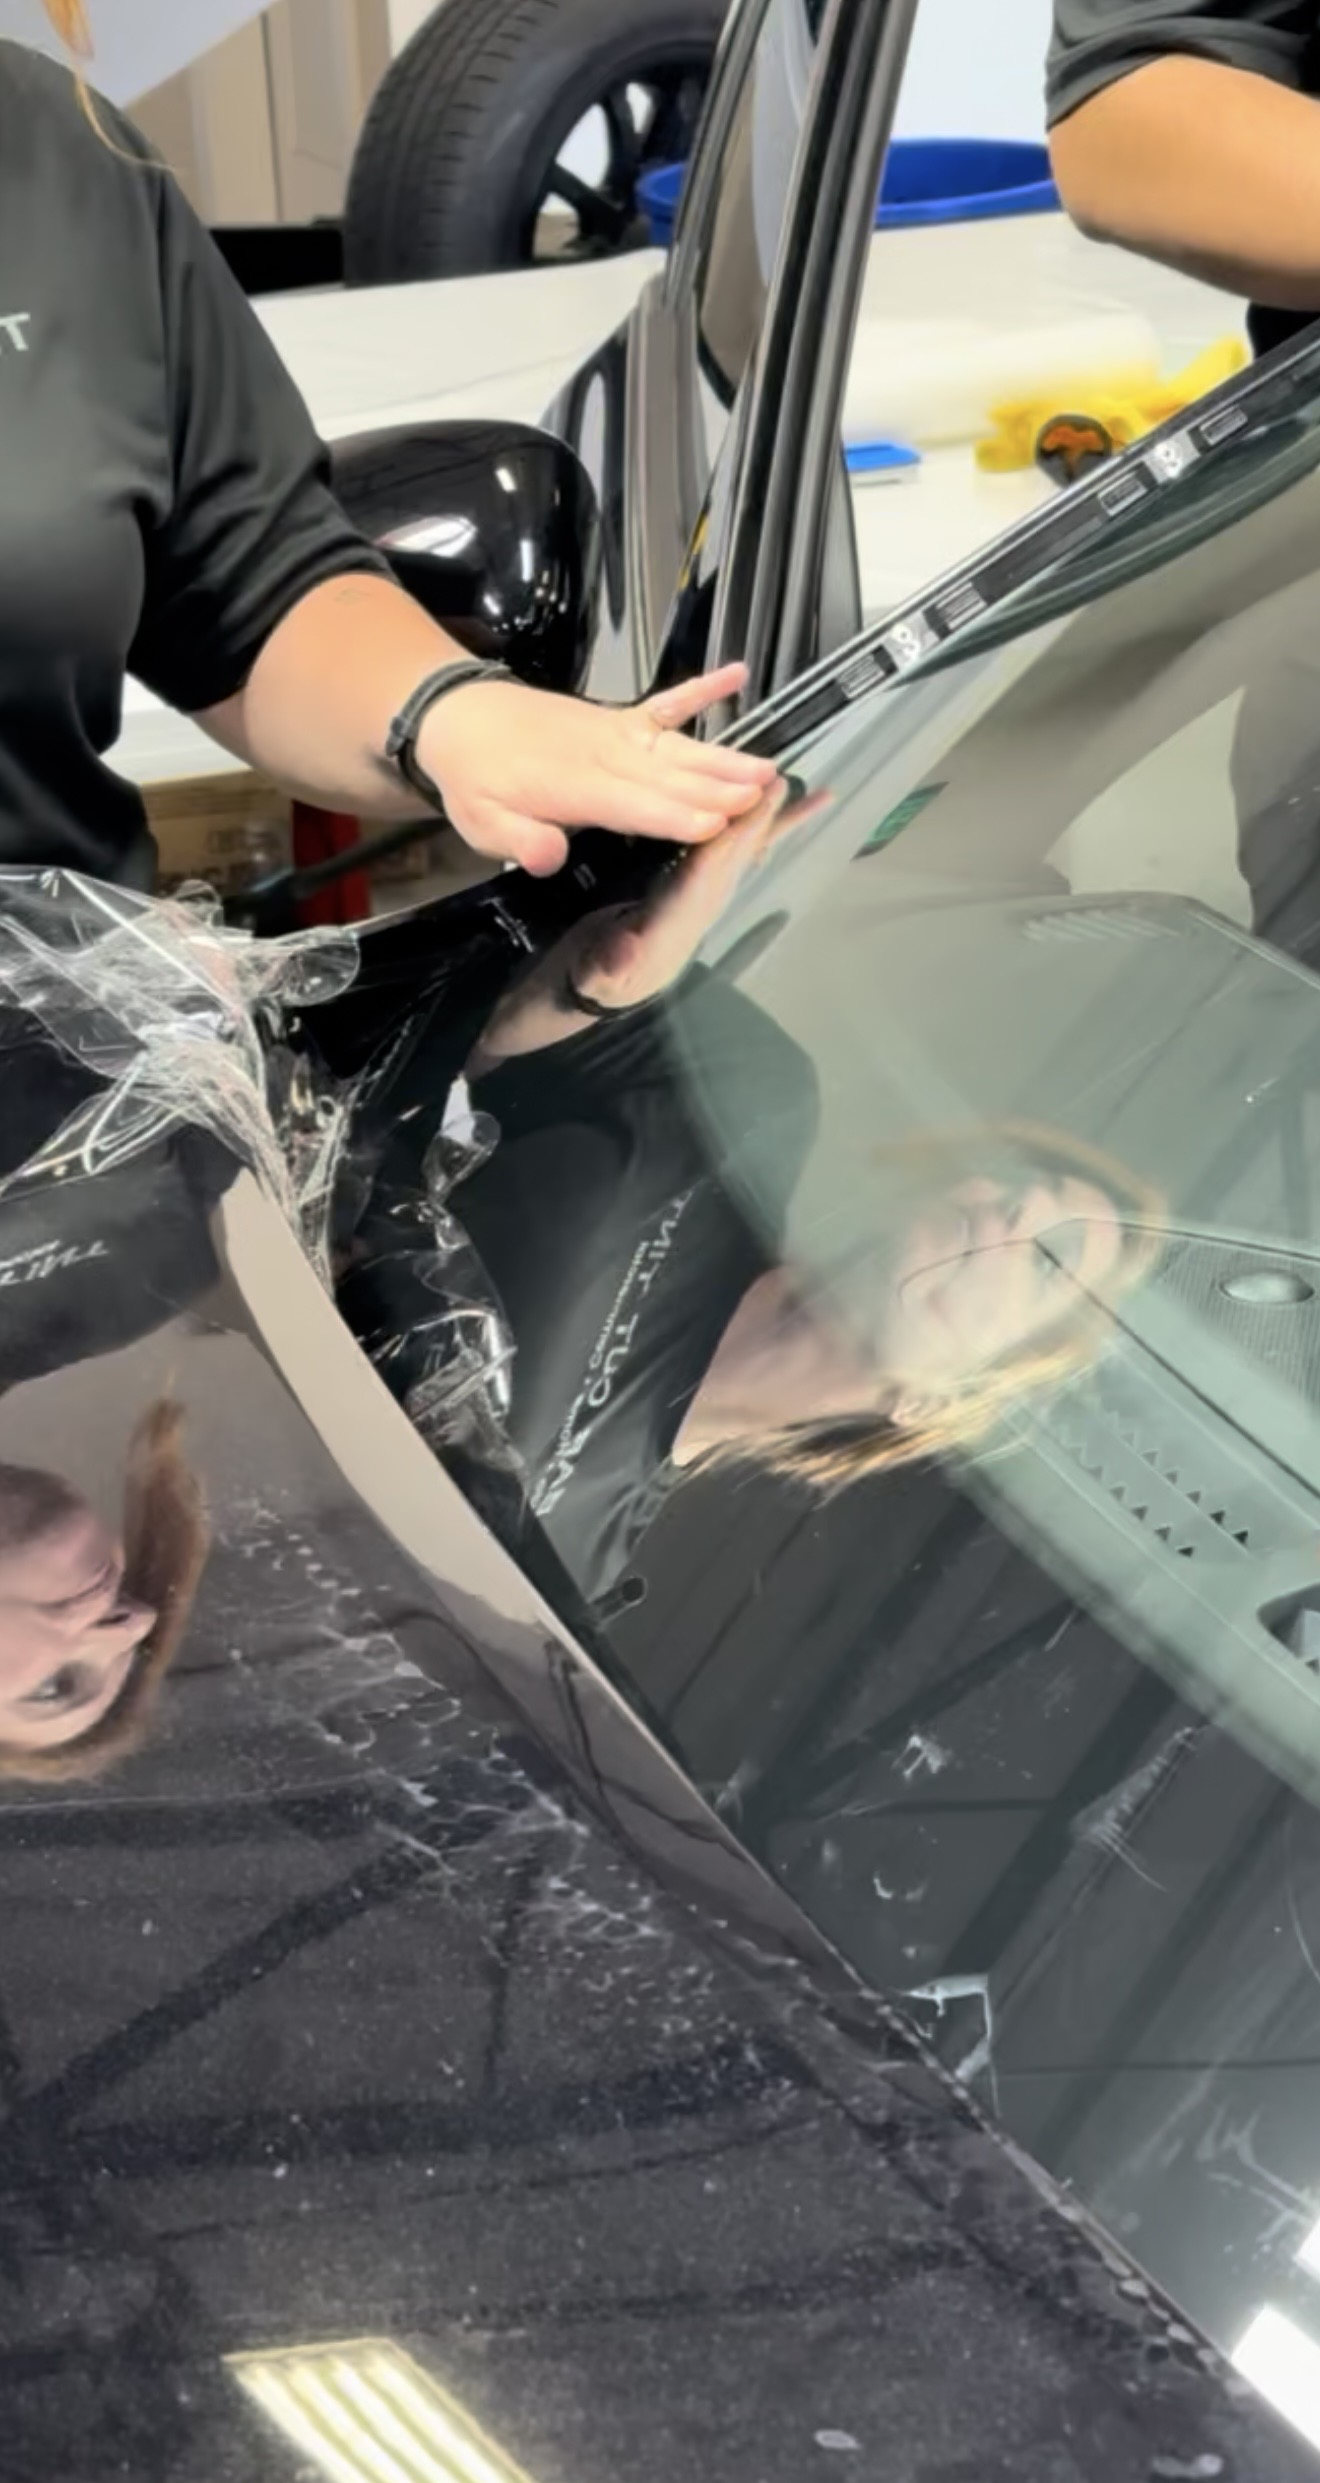
How Is Professional Car Window Tint Installed?
Professional car window tint installation involves careful preparation, precise film cutting and shaping, application to the inside of the glass, and a final inspection. Here’s how the process works at Clear Cut Glass & Tint.
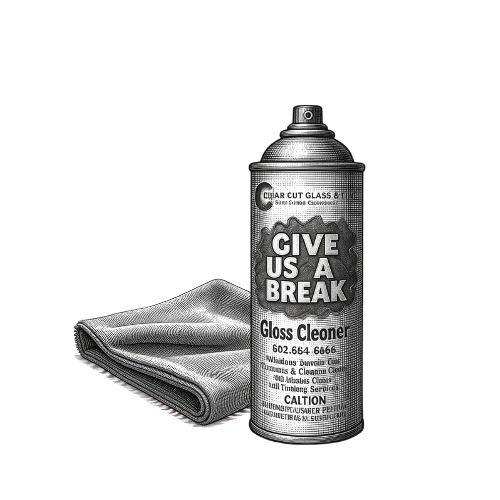
01
CLEAN THE GLASSThe glass is thoroughly cleaned to remove dust, dirt, oils and other contaminants that could become trapped beneath the window film.
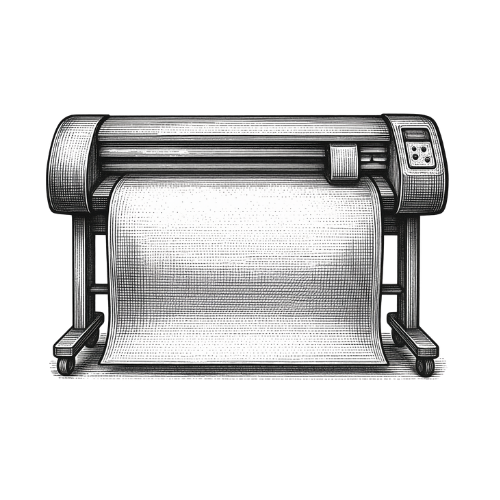
02
CUT THE FILMWhen a digital pattern is available, we use a computer-controlled plotter to precisely cut the window film for each piece of glass, minimizing the need to cut directly on the vehicle.

03
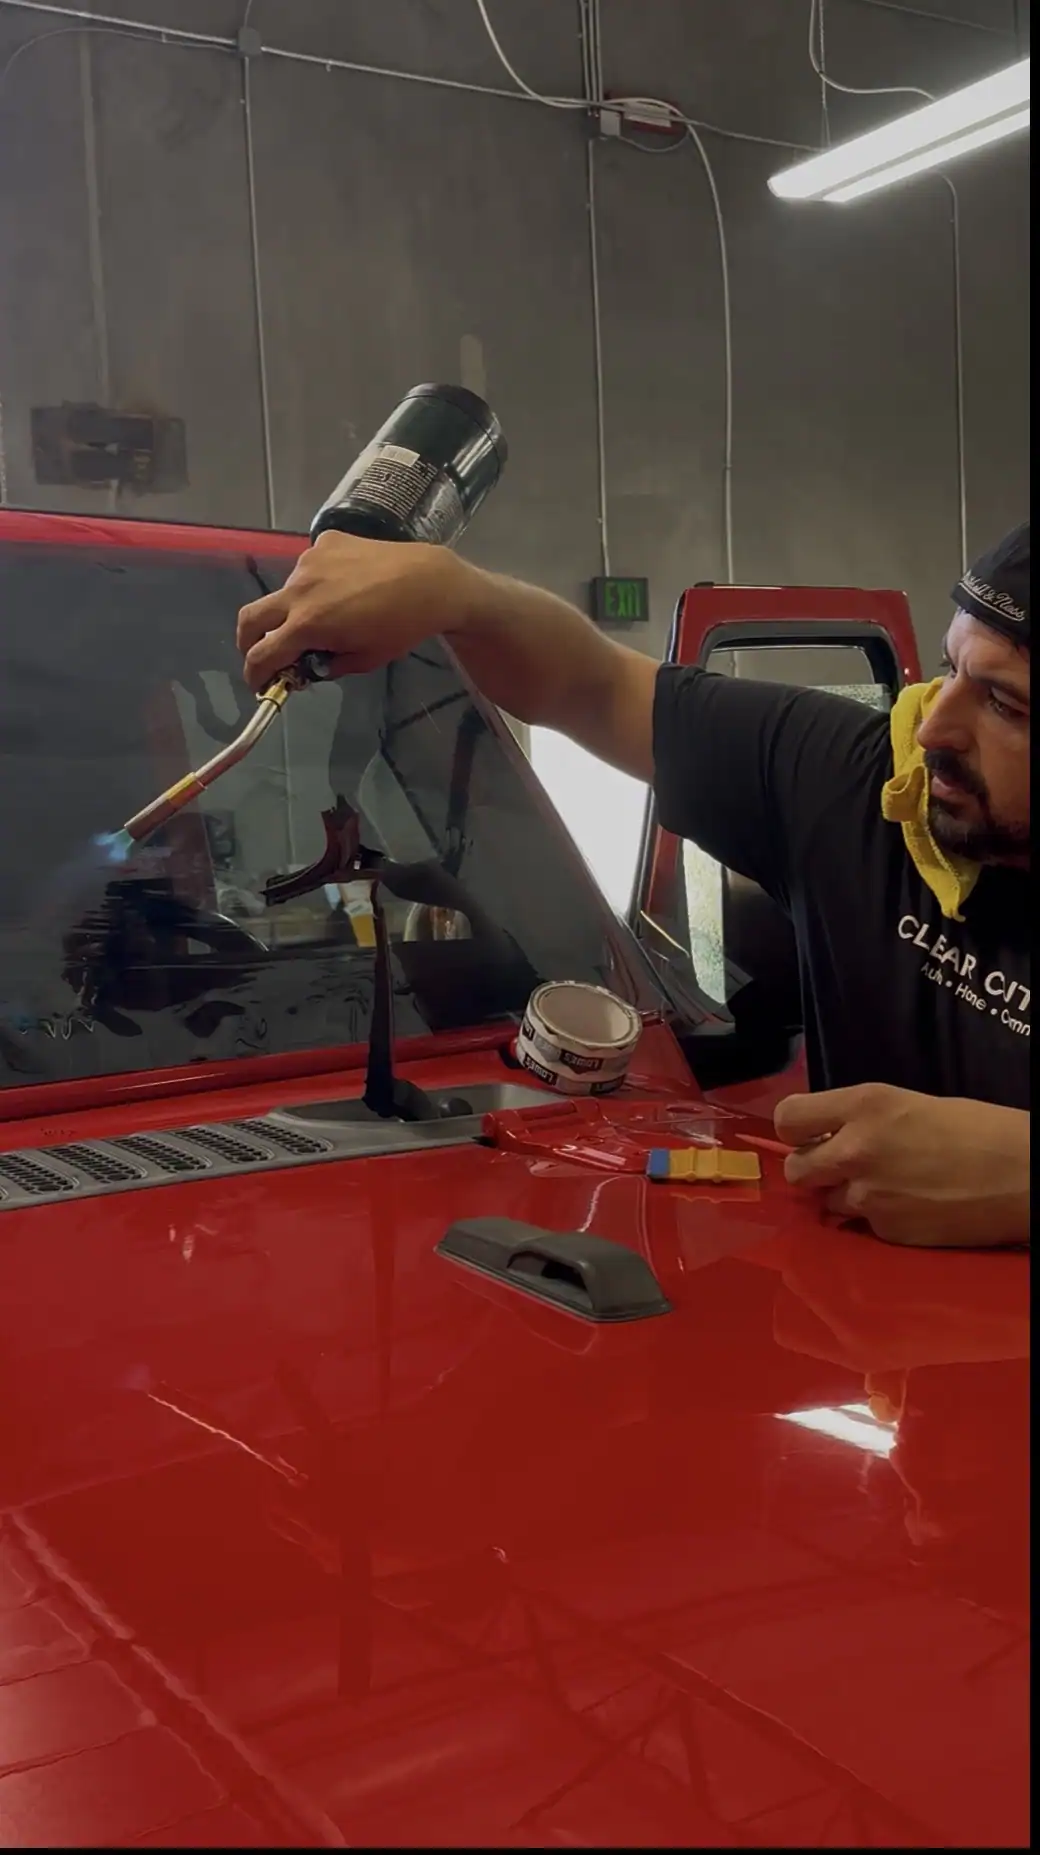
SHAPE THE FILMCurved automotive glass may require the film to be carefully heat-shrunk and shaped so it conforms smoothly to the window.
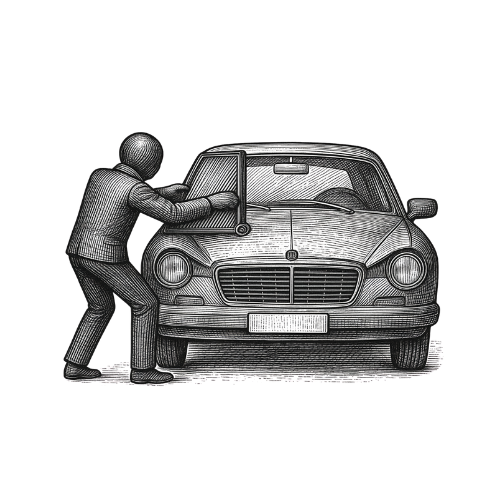
04
APPLY THE TINTThe film is installed on the inside of the vehicle’s glass using a slip solution that allows the installer to position it precisely before securing it in place.
05
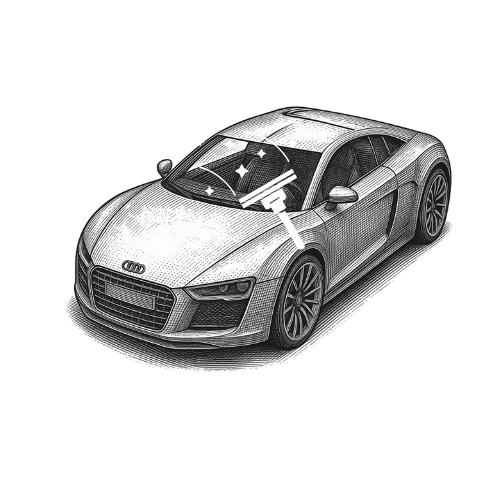
SQUEEGEE & INSPECTMoisture and air are carefully pushed out from beneath the film. The installer then checks the edges, fit and overall installation before the vehicle leaves the shop.
What if there isn’t a computer pattern?
Some classic, antique and specialty vehicles don’t have digital patterns available. In those cases, an experienced installer can create a pattern by hand to properly fit the film without cutting directly on the vehicle.
How Long Does It Take to Tint a Car?
Most professional car window tint installations take about two to four hours, depending on the vehicle, the number and shape of the windows being tinted, and whether old window film needs to be removed first.
Some vehicles take longer because of complex glass, tight access or additional preparation. At Clear Cut Glass & Tint, installation time is based on what the vehicle actually requires rather than rushing the film onto the glass.
What Happens After Window Tint Is Installed?
After window tint is installed, the adhesive needs time to fully cure. During this period, you may notice a slightly hazy appearance, small water pockets or moisture beneath the film. This is a normal part of the drying process and should gradually disappear as the film cures.
Avoid rolling your windows down for the time recommended by your installer so the film has time to properly adhere, especially along the edges.
How long does window tint take to cure?
Window tint can take anywhere from a few days to several weeks to fully cure, depending on the film, weather and environmental conditions. Arizona’s warm, dry climate can affect drying time, so follow the specific aftercare instructions provided for your installation.
Does Professional Window Tint Installation Make a Difference?
Professional installation affects how well window film fits, looks and performs over time. Proper glass preparation, precise film cutting, controlled heat shaping and careful application help prevent contamination, poor edges, creases and other installation problems.
Experienced installers also know when a vehicle requires a different approach, whether that means working with unusually curved glass, tight spaces or a classic vehicle without a computer-cut pattern.


Leave A Comment